
Hi Everyone!! I've had a few people ask if I've tried Wonder Beauty Products. I found this brand through Etsy a few weeks ago and was curious myself. Jen, the owner and creator, came up with an idea to have her polish in jars to help reduce the problems that bottles can cause. Her jar concept was new to me and it seems like a great idea!
You can find Jen on Facebook HERE. Also, Jen has lots of information on her Etsy page, which is HERE. Here are some details she has posted:
About Wonder Nail Lacquer - 100% hand mixed and are 3 Free! - No Toluene, No Formaldehyde, No DBP. No "pre-made store bought franken mixing" here! All of my polishes are made from scratch and contain less chemicals than any polish on the market.
Why the jar? I fell in love with the unique and classy idea of vibrant animated nail colors concentrated in a beautiful cosmetic jar - hence a nail color cosmetic! No store bought "Franken" mixing here! All of my colors are truly made from scratch and will require hand mixing for optimal radiance with each use.
What are the benefits? Easy mix color palette for optimal radiance: Eliminates the frustration and limitation of "shake mixing". Get vibrant color results with every use!
Color and density control: Use as concentrated for quick heavy coverage or add liquid fusion for a more translucent look.
No waste: No more waste like you get when nearing the bottom of traditional bottled nail polishes. The wide mouth, shallow nail polish in a cosmetic jar allows for full use to the very last drop without gumminess or waste.
Lightning speed drying: Super fast, bullet speed drying formula! You're sure to be amazed at how fast my special blend dries literally within seconds!
Super value for the money: Every nail color cosmetic jar is accompanied with a .5 ounce bottle of crystal clear fusing liquid. The fusing liquid may be used as a translucent additive to the concentrated color mixture and is also a vibrant, non-yellowing high gloss top coat. A built-in bonus with every nail color purchase!
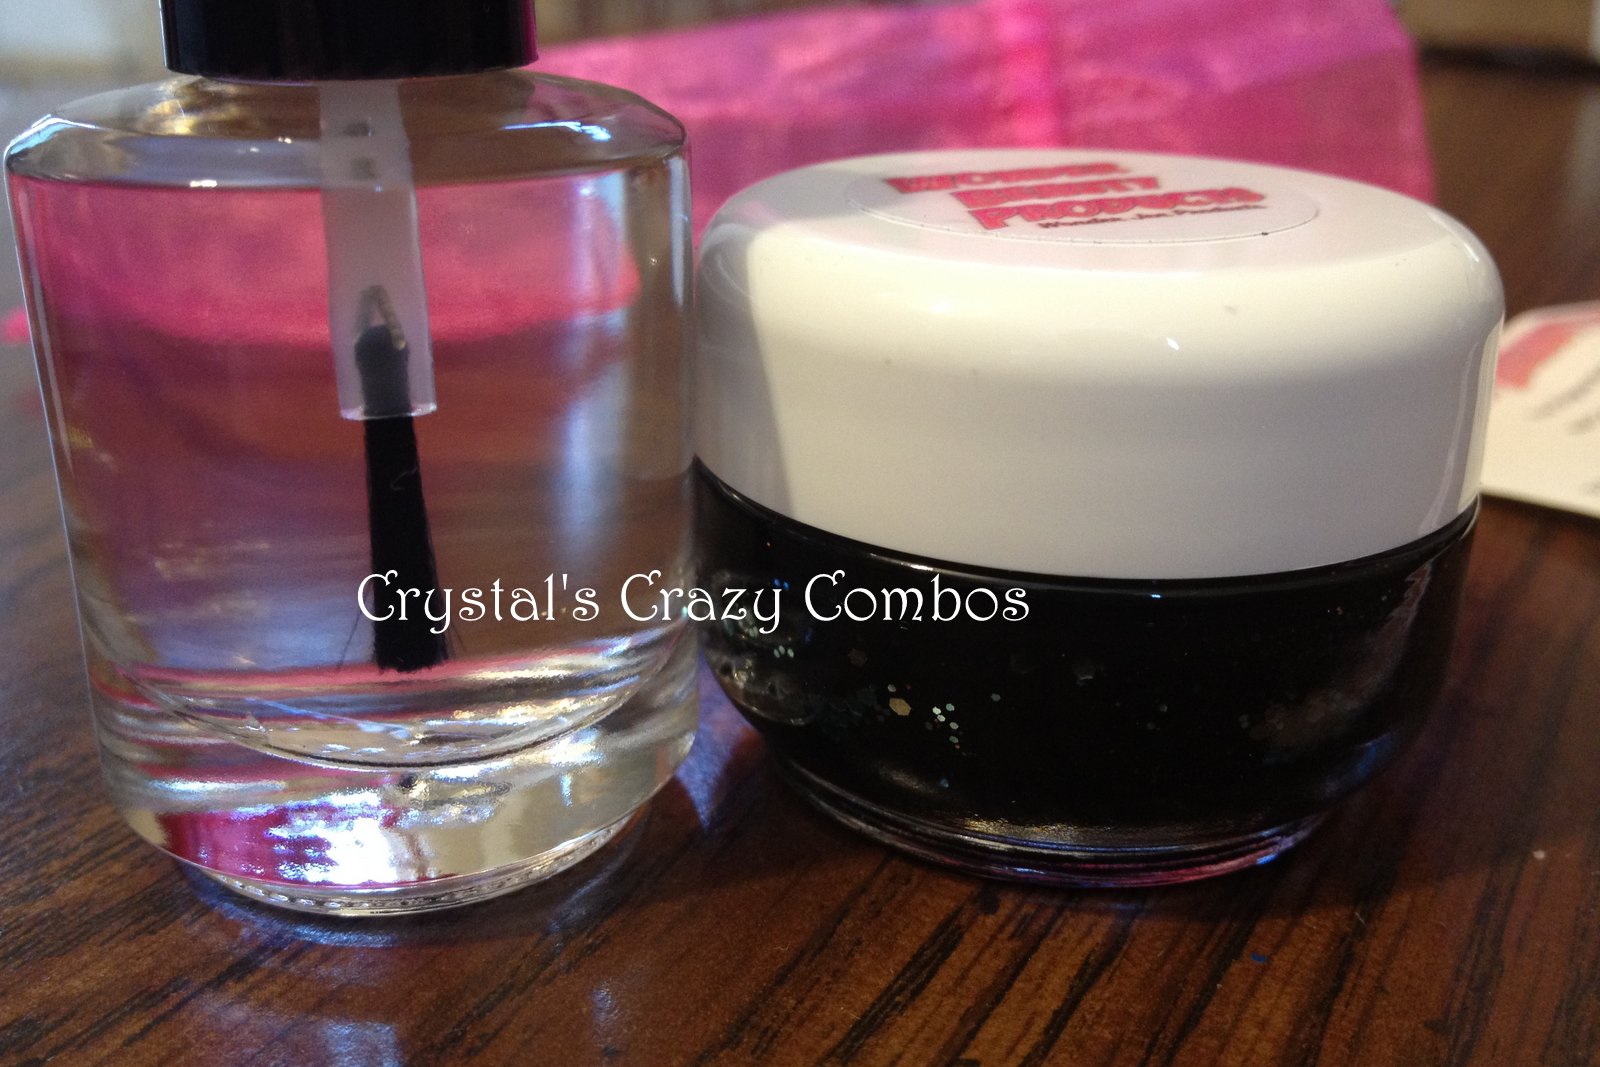
I was lucky enough to win an Easter Egg Hunt that Jen had set up through her website! I was so excited to look through all her listing and find the little egg symbols - just like a little kid! And I happened to be the first to find them all and won my choice of nail lacquer! I asked Mr. CC his opinion, and we both agreed on Drill Baby Drill. It came yesterday, and I was SO excited! Here is how it came.

The package includes:
1 - Custom Color Palette (full size .5 ounce)
1 - Crystal Clear Fusing Liquid / Top Coat (full size .5 ounce)
with brush applicator for use with both products
1 - Wonder Wand mixing stick
1 - Elegant Organza Pouch (color may vary)
1 - Card With Complete Instructions
1 - Custom Color Palette (full size .5 ounce)
1 - Crystal Clear Fusing Liquid / Top Coat (full size .5 ounce)
with brush applicator for use with both products
1 - Wonder Wand mixing stick
1 - Elegant Organza Pouch (color may vary)
1 - Card With Complete Instructions


Ok, so I began to look at how I was going to do this. If you notice I was wearing a dark red polish and just left that on in case this was sheer (and plus I was being lazy!! lol). I took off the lid and begin to stir polish in the jar using the stick. I noticed a lot of polish was stuck on the sides, so I pulled from the sides and sort of folded it on top. It was kind of like how you fold in chocolate chips into the batter? Well, anyway, the glitter seemed to be heavy, so I did that a few times to try to get it to mix enough for the nails. I also tried mixing a few times between nails and coats. You take the brush from the clear fusing liquid and dip it into the jar and paint as you normally would. I was able to pick up a few large hexagons as you will see below. I did 2 coats over the red and it was opaque. I don't see any hint of the red.
Then I cleaned off my brush, which I did with a cotton ball and acetone, but I noticed it left some of the fibers. I'm not sure what to use that might help. Just be careful because really the brush doesn't have to be perfectly clean to be put into the clear fusing liquid, which is what you'll use as the top coat. Boy is that stuff shiny and slick! You do not need to load your brush with it, it applies like melted butter! I thought it would be thicker like Seche Vite, so don't make that same mistake lol I had it almost dripping on my table! haha See? This was today's learning experience - you do learn something new every day. I did wish that the glitter had come through better though. Especially when I noticed in taking pictures, how much glitter is in there! There is way to much to not be on my nails! hehe Sooo....


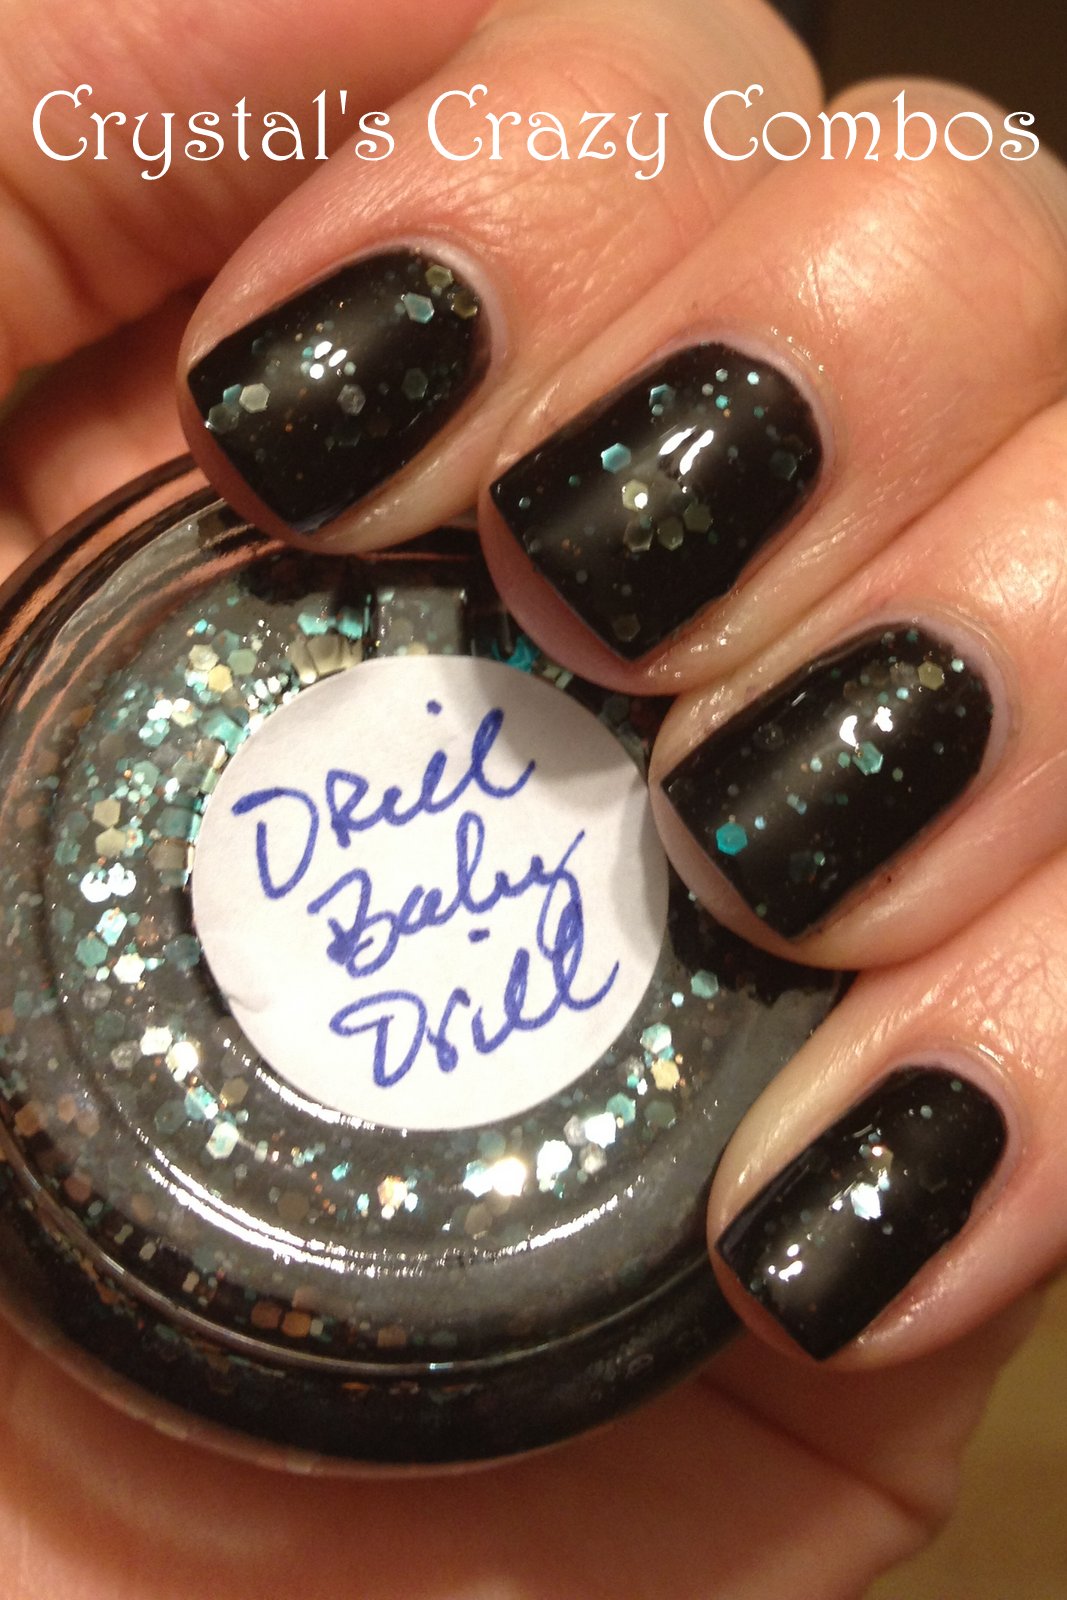
I improvised! I kept the jar upside (closed very tightly) and waited for the glitter to settle towards the top. I removed the first try and went to try it again! Now I didn't plan this, so don't think I'm a genius or something (LOL)!! But what happened ended up working perfectly! Below is a picture of the lid and as you can see, it's LOADED with glitter. So what I did was take the clear fusing liquid brush and dip it into the jar to get it loaded up and then dip that onto the lid to pick up some glitter. This way it was still smooth, but it had a lot more glitter than before. Below the pictures are two coats (this time without any base color) with the clear fusing liquid as a top coat. This is exactly what I wanted it to look like! The glitter is suspended from the layers and it looks so much better! You can see the teal and gold hexagons with the copper shimmer in the dark base really well in the lid. This is in a black jelly base.


The biggest tip I can give you is to BE CAREFUL! I don't know about you, but I'm not always the most graceful. I made sure I had lots of room and that I wasn't going to bump the jar on the floor! And also move the open clear fusing liquid bottle away from you so that's not in your way. Be careful opening and closing the jar (especially with wet nails). The initial opening took a second, but now it goes on and off easier. And I made sure to close it back up tightly to keep it from getting any air in it! But the nice thing about this concept, is that you can add some clear fusing liquid directly into the jar if you need. The polish itself applied just like any other, if not easier because I had control of the glitter and polish with the big opening. I'm not sure that I'll always use my method because that can get messy, but it seemed to work! I am going to give it a couple days to make sure it doesn't dry and make it hard to open with the lid being covered in polish. If so, I will use the stick to put the glitter back in the jar and then wipe it clean with acetone. I had fun trying something new and really loved the way it turned out. I also really like that if you find a color you really love, you can use it all the way to the bottom of the jar and not have to worry about being able to reach it!
I hope you enjoyed my post and please feel free to ask me any questions! I know this is new, so I will try to help you in any way I can! Please check out Jen's Etsy store, as she has some gorgeous other colors available!
Have a great weekend!!
Much Love,
Crystal
this seems like way more work than I ever want to put in to do a mani lol! I do like the end result though!
ReplyDeleteThat color is alright, but honestly I only have one polish besides top coat that I've used all the way to the bottom and then I just went and bought a new bottle!
ReplyDeleteIt came out way better the second time!! Good thinking ;0). It looks like a fun idea. Lots of work though. It's a really pretty polish.
ReplyDeleteThanks for the review. I bought a couple of these and can't wait to try them :D
ReplyDeleteI bought cherries jubilee and now I want this one!
ReplyDeleteWhat an original idea! The colour is pretty cool too :)
ReplyDeleteWhat an unusual polish!! It looks good though :)
ReplyDeleteWow, that sure is a lot of work! lol. Thank you so much for doing this post, I had seen these polishes on etsy and was wondering how in the heck to apply these. Now I know =) It's a very cool polish!
ReplyDeleteJen, now that I somewhat have a technique I can handle it, but yes, after first I was crazy of how to get it to look like the jar! lol She has SO many pretty colors too!
ReplyDeleteTootsweet, lol I have so many polishes that I doubt I'll ever finish just one...but I liked the concept and think it is nice to get the glitter out if it sinks like that!
Thank you, Marisa! It is very pretty! I suppose it is a tad more complicated, but now that I know what to do, it went pretty quick for me! ;-)
Rmcandlelight, you're welcome! I hope you love them! What colors did you try!?
Oh Minnie! That one looks gorgeous!! I have a few on my list of hers!
Hollysagemini, isn't it cool! I love her colors, which is what drew me in, plus it's just something different ;-)
Saira, isn't it! lol thank you!!
Jacqui, You're welcome!! I'm glad to help people to see how it works, and if any of my tips help, then I was glad to do it! I think it's pretty cool too!
This is beautiful!
ReplyDelete